


Handmade cards make wonderful gifts! Today I'm sharing a collection of eight all-occasion cards using the "Say Cheese Main Street" Card Kit and a handy organizer made from chipboard and paper...let's get started!

To begin, I crafted all eight of the cards using the designs provided in the kit. While the card kit's designs are FANTASTIC left alone, I did add a little extra to each one with accents of puffy stickers, foam stickers, enamel dots and chipboard:


Next, I wanted to craft an organizer for holding all of the cards AND handmade envelopes. Let's talk about the envelopes first: for the A2 cards I cut eight pieces of double-sided paper to 8.5X8.5 and used the pattern on the back of my scoreboard to determine where to score.

If you don't have a scoreboard or template, no worries! Simply use one of the cards or a 4.25X5.5 piece of paper as a guide. Place your paper in front of you so that the points are at 12:00, 3:00, 6:00 and 9:00. Place the card in the very center of the paper. Fold the bottom and side points of the paper in around the card and glue in place. The top flap will remain open.

For the organizer, you will need 2 sheets of 8.5X11 chipboard, patterned paper and very heavy cardstock or lightweight chipboard (I used Neenah 110 lb cardstock).
First, cut the two sheets of chipboard to 9.5X6.5. From the leftover chipboard, cut a piece to 9.5X2 for the spine. Cover one side of each of the chipboard sheets with patterned paper; if desired, leave about 1/4" of paper along the top, bottom and sides to wrap around the chipboard.
To join the "spine" to the front and back covers: cut a strip of patterned paper to 9.75X4. Place the chipboard strip in the center of the paper, fold the excess paper over on the top and bottom and glue in place. Next, place the two covers (patterned paper side down) to the left and right of the center strip and adhere by way of the 1" strips of paper. Finish the covers by adding patterned paper to the inside.
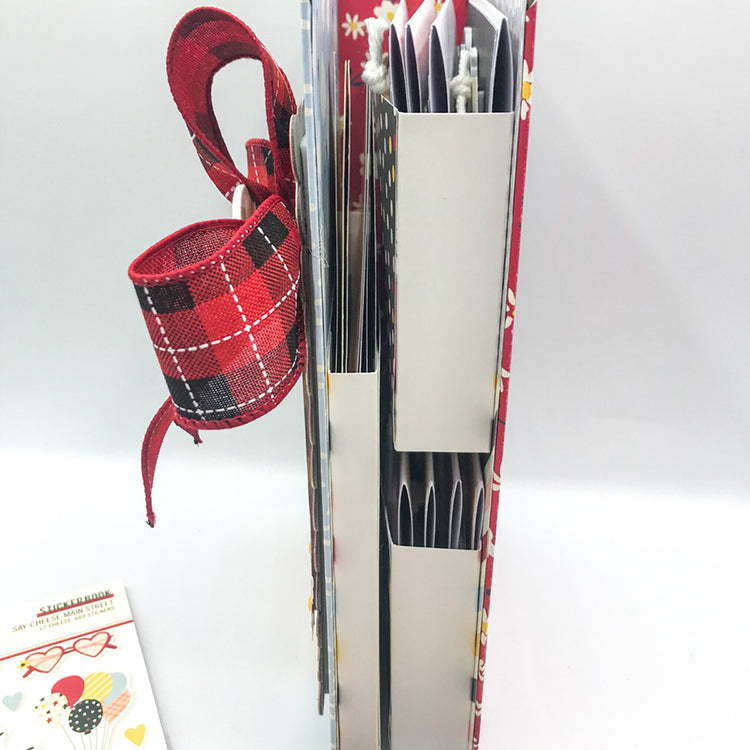
The pockets holding the two sets of cards and envelopes were constructed from the Neenah cardstock and then attached to the inside covers.

The pockets were covered with patterned paper.
The front cover of the organizer was decorated with a paper-backed frame, some foam thickers and a fun bow!
Please visit my YOUTUBE Channel for a video tutorial on how to construct the cover. With Christmas around the corner, this is a great recipe to use for gift-giving your handmade cards!
Thanks for joining!
Shellye


0 comments