


Hello crafters! I’m so happy and excited to be back! I’m Celes from GuiadeManualidades.com and today I have a wonderful project… Let’s enjoy a new Christmas!
SV North Pole Collection makes me think about my childhood. All those wonderful Christmases that I shared with my family, my grandparents… the music, the food… love to think about all that.
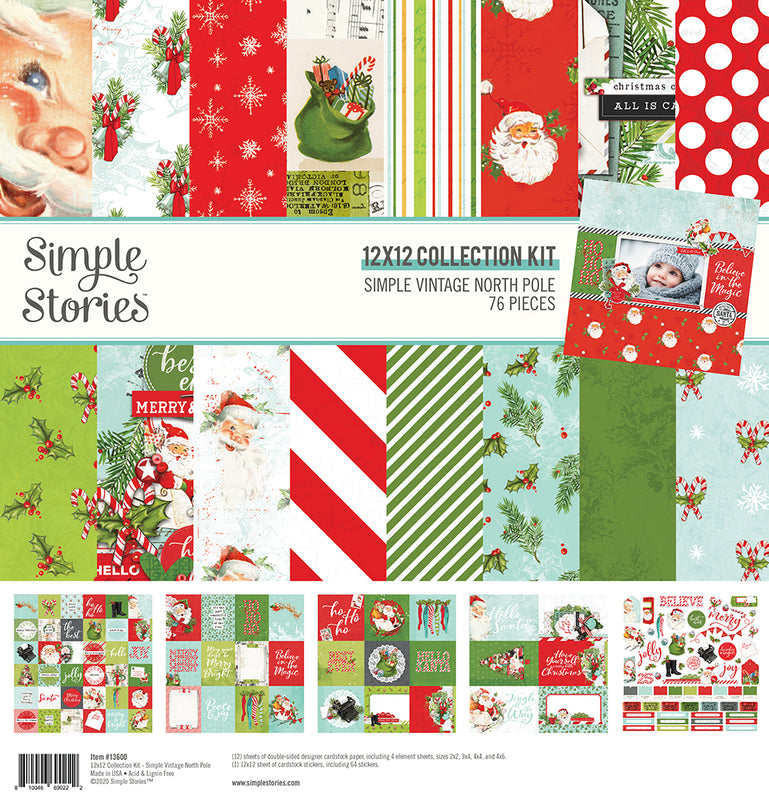
While I was looking at all of the paper… I saw one that was amazing. It was paper #13609. I fell in love with that lovely Christmas Tree. So I decided to make a mini album inspired by it. Here is the result… I hope you like it!
SV North Pole Collection makes me think about my childhood. All those wonderful Christmases that I shared with my family, my grandparents… the music, the food… love to think about all that.
While I was looking at all of the paper… I saw one that was amazing. It was paper #13609. I fell in love with that lovely Christmas Tree. So I decided to make a mini album inspired by it. Here is the result… I hope you like it!

It’s super easy to make. First thing to do is to make a pattern of a triangle. I used the same shape for both covers and for pages (just modified the size of it) If you don’t have an electronic cutting machine you can make all patterns by hand. The final size of my project is: 7” w x 8” h. As I have the ScanNCut cutting machine, I used the Canvas to make the design. You can do the same with any electronic cutting machine.

For the structure of the album we need 3 pieces of cardboard of: 1-7” w x 8” h (two pieces, approximate final size), 2- 7” w x 2 1/2” h (one piece, for the spine). To cover all of them I used two design papers from the basic kit. I used green for the covers and red for the spine.
Besides, I made a basic spine of the same red paper. For making it cut a piece of red paper of 9 1/2” w x 6 1/2” h. Then you have to scored it in 1 1/2”, 2”, 2 ½”, 3”, 3 1/2”, 4”, 4 1/2”, 5”, 5 1/2”, 6”, 6 1/2”, 7”, 7 1/2”, 8”. As a result you are going to have a classic spine with 4 hinges and extra 1/2” to each side of the spine. To decorate the spine, cut strips of design paper and of foil paper. It’s a lovely detail.
Glue all pieces together to make the mini album structure. After this, you can glue the spine in place and remember to add magnetic closure before you glue the design paper for the interior.
To close the album:
To make the magnetic closure cut two strips of foil paper and two strips of the design paper of 4 1/2” w x 1 1/4” h.. Add a magnet to one end of the strip and then glue together (one foil paper strip, one design paper strip). Score them in 1”, 3 1/2”. Glue both magnetic closures to the structure and add the other magnets to the front cover.
For the cover:
As I told you before, I made this Christmas tree shaped mini album inspired in one of the design papers. So I started to play with all the embellishments I had. Stickers, foam stickers, washi tapes, die cuts, self-adhesive brads, chipboards, self-adhesive layered stickers, etc. Besides, I used some dies from Sizzix to cut leaves and mistletoe. Other details I added were paper flowers and beads. Play with everything you have ;)


For the interior:
Time to decorate our mini album! And the special shape is the protagonist. I cut 8 pages of white paper and 8 smaller pages of design paper. If you like, you can make special structures for all of them . The idea is to put as many pictures and write as many memories as we can.
Prepare every page before adding it to the structure. Use all you have to decorate… die cuts, stickers, chipboards, washi tapes, stamps… everything. Just have fun and enjoy the process.


I hope you like this idea! I would love to see your creations!
Have a lovely weekend!
Featured Products


2 comments
Very beautiful! So cute!
What a fab idea and seperb tutorial. Thank you X X