


Hi crafty friends! Amber here on the Simple Stories blog today to share with you a fun, layered mini album I created using the "Safe Travels" collection.

I love creating handmade mini albums; they're my favorite thing to craft so I knew I had to make one with this collection. I used medium weight chipboard to create my base. My front cover measures 2.5 x 4.5 inches and the back cover measures 4.5 x 4.5. inches, while the spine measures 1.5 inches x 4.5 inches. The mismatched cover sizes give this album a layered effect that allows the pages of the mini to show through for a fun sneak peek. To keep the album closed I used white ribbon that I attached under the lining of the inside of the album.

When I first saw this collection, I was instantly drawn to the navy, pink, and mustard yellow shades. I mean, aren't they just gorgeous?! And, since floral patterns are always a favorite of mine, I decided to use the "Happy Travels" patterned paper to wrap my album base. I am in love with how fun and colorful it is! To line the inside of my album I used the pink-striped backside of the "2x2/4x4 Elements" patterned paper.

The pages of my album are of mix of sizes that I really got creative with. The first few pages in the album are smaller while the last few are larger; this helps to enhance that layered effect. To bind the pages to the album, I used white elastic thread that I tied around the spine. Since my pages are pieces of paper folded in half, this works perfectly to keep them in place!

To create photo mats, I took white cardstock and cut it down to sizes that worked for my pages. I used the edge of my scissors to distress the edges of the photo mats and then machine stitched with my sewing around the mats for extra added texture. I then popped these up on their designated pages using small, square foam adhesives.

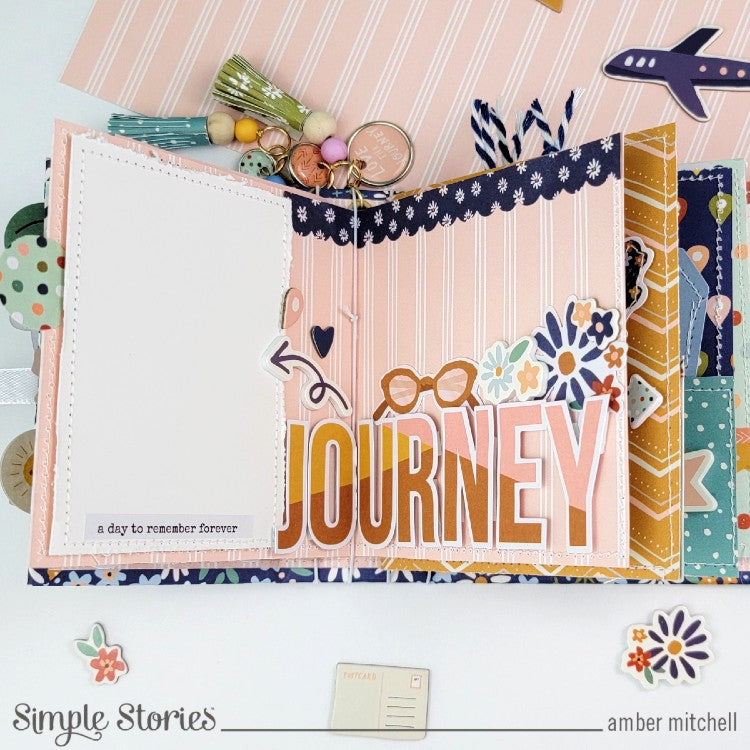
On pages that didn't have photo mats, I embellished the empty space using all of the wonderful bits from "Safe Travels". I also opted to add a few pockets to my album. I stuffed these with some tags from the "Tags" patterned paper. I love adding pockets to projects as they can be used to store journaling, extra photos, and even memorabilia.

One element that I love adding to all of my projects are tassels and charms. I created some paper fringe tassels using items from my stash and scrap paper. To create charms that I could attach to the tassels, I took some of the larger brads from the "Decorative Brads" pack and punched a small hole into them using my We-R-Memory Keepers Crop-A-Dile. I think these are such a fun addition to the outside of the album!

I really wanted the cover of this album to pop, so I layered a ton of different bits and pieces, one on top of the next. Layering like this not only adds texture and dimension, but draws the eye in.

Now this album is ready for all types of travel memories! Thanks for stopping by the blog today! I hope you've been inspired to create a layered album and I'll see you next time with another fun project!


2 comments
Í like the album you haVe a tutorial. I’m new in this albums
I LOVE this album and the safe travels line!