


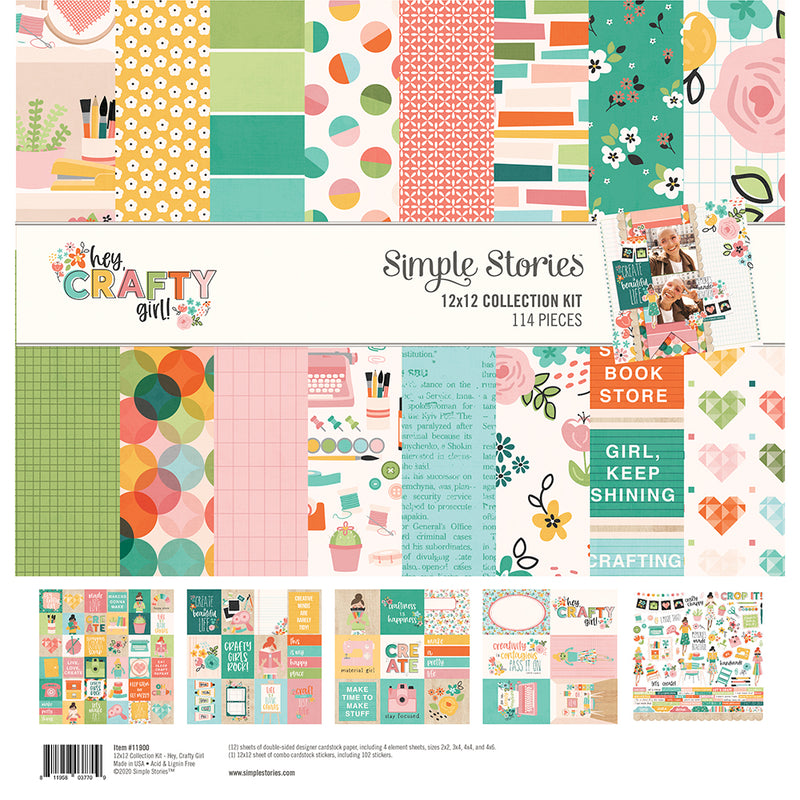
I like to set some crafty goals for myself at the beginning of the year and the Hey Crafty Girl collection was perfect for visualizing those goals! With bright cheerful colours and lots of different crafts represented it was so easy to start putting these pages together.

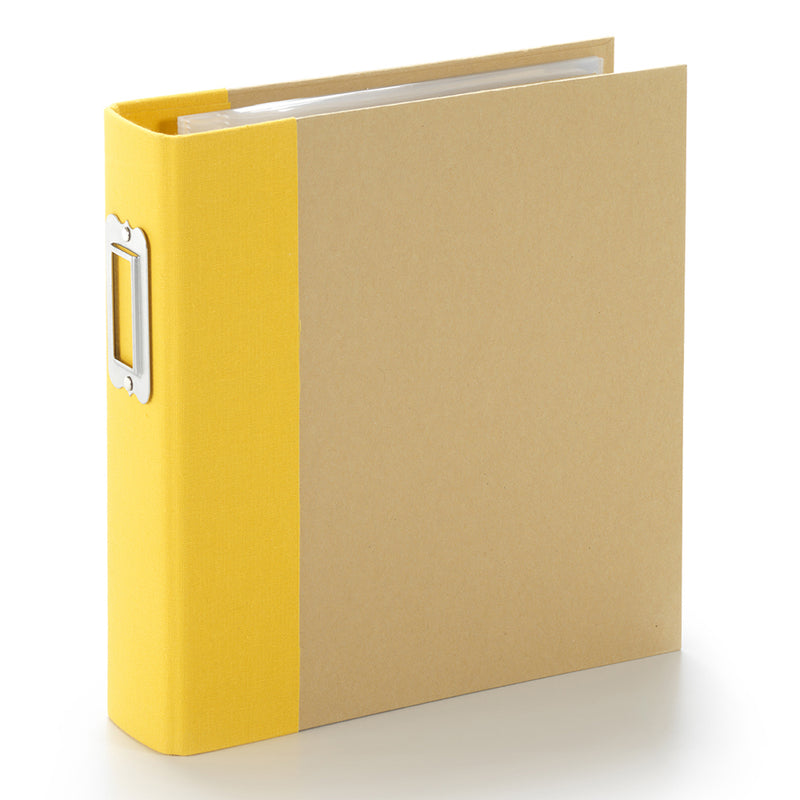
I used a SN@P! binder with a yellow spine and covered it with the Crafty & Happy cardstock. Love those stripes! I used the scallop border sticker from the Combo Sticker sheet along the edge to smooth out the transition between cardstock and album spine. To make it a little more fun I cut out a larger camera from one of the 4x4 elements and added a chipboard word sticker.

Inside the album the first thing is a full page 6x8 layout and an interactive page. I liked the idea of making my list a little more interactive with a tab booklet.

For my full page layout I printed out a photo strip with two current crafty projects and me! I picked some cardstock for the background (DIY Queen), loosely adhered my photo and started building around it! I added SN@P! elements, Bits & Pieces, stickers from the Mini Sticker Tablet and Combo Sticker Sheet and chipboard stickers. I like to start by finding my favourite bits and positioning them around my photo and then work on filling in the spaces until I’m happy. I added the CRAFTY chipboard stickers at the bottom and the chipboard pom pom garland on top to finish it up.

I had too much fun working on the page with my tag booklet. To start, I made a 4x4 pocket on top of a 6x8 page protector out of the Made With Love cardstock. I had planned to do some stencilling to go inside the page protector, but when the Hey Crafty Girl stencil was under my page protector I liked the way it looked so much I just added a 2 inch paper strip to the bottom so it would fill the whole pocket. I love how it adds more layers and you can see the page underneath peek out. Inside my little pocket is the tag booklet - I used a few different 3x4 elements and some actual tags from the Hey Crafty Girl Bits & Pieces and punched a hole in the top. I used some yarn to hold it together and made some cardstock tassels to go on the end. I just cut strips of cardstock and added fringe along the bottom and rolled them up around the ends of the yarn. So easy with a high fun factor. Little elements like that really encourage touching and actual interaction with layouts - I just love that!

Inside my tag booklet I used the big number stickers from the Hey Crafty Girl Mini Sticker Tablet to number off my goals. I also added in a tag made from the Simple Basics paper that coordinates with the colours of this collection and added lots of embellishments to make it fun,

Since the backside of the pocket I made was visible through the stencil, I used one of the 4x4 elements to cover it up. I left the rest of that page plain because I wanted the layers going on to shine! On the other side I used one of the SN@P! pages with all the 2x2 pockets to bring together some visuals for my crafty goals. I combined 2x2 photos with 2x2 elements and some embellishments. I put the Happy Place cardstock underneath to play with the negative space around the embellishments.

Working with Hey Crafty Girl was great way to make my craft goals visible! Now I can look back and add to it as I craft my way through 2020.
Featured Products


0 comments