


Are wedding bells ringing for you or someone that you know? Today I’m sharing a unique, mixed-media album that pulls in several components for you to consider when creating your own. Not only is it flip-style, but it also includes a gate-folded album tucked inside!

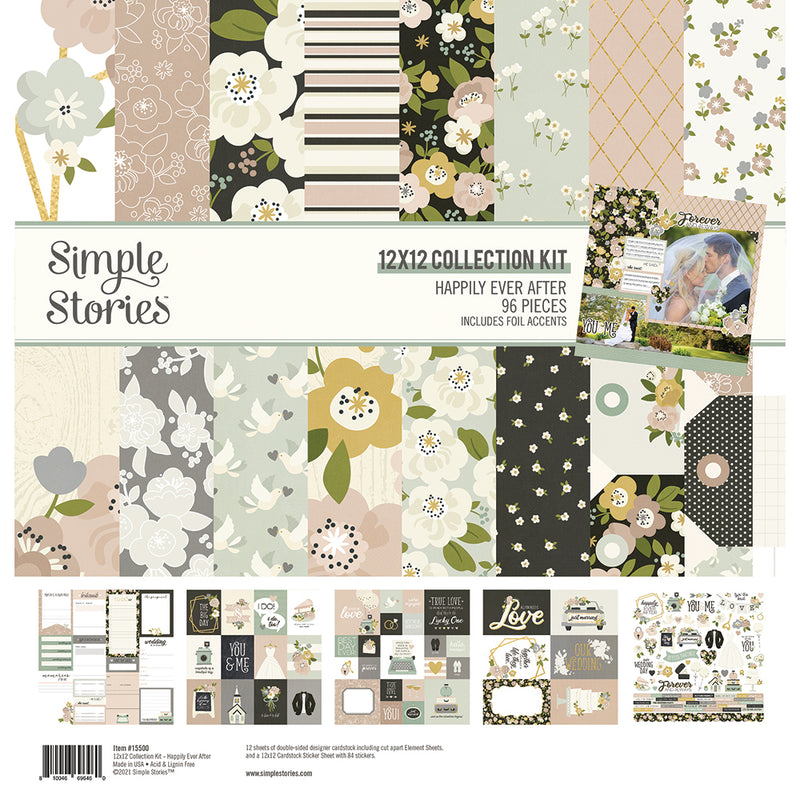
The design concept started with a beautiful stack of wood-cut wedding. If you can’t find this exact product in stores or online, try substituting with an svg file or metal die shapes. I traced all of the individual wood pieces onto various patterns of paper, trimmed out and then attached.


For the cover base: I cut a piece of double-sided paper to 4X6 and then laminated it inside of a 5X7 sheet of 5mil laminate. I also laminated the Mr.& Mrs. banner and a couple of other die-cuts. After attaching the bells to the cover with very high tack adhesive tape (I use Extreme by 3L), I added the banner with a dab of hot glue at each end.

Before moving to the gate-folded album portion, let me touch on the back cover. I used the 5X7 wood base that came with the wedding bells and covered one side in paper. I punched two holes at the tops of the laminate cover and the back cover to accommodate the binder rings.


Inner Gate-Fold: I cut a strip of patterned paper to 4”X12”. Next I scored at 2.5”, 3”, 9” and 9.5”. I used small pieces of chipboard to back the 2.5” and ½” areas to provide sturdiness. The chipboard was then covered with patterned paper.


For the inner pages I created an accordion style that decreased in width as the pages moved up. For the base page, I cut a piece of cardstock to 5.5”X3.75”; the next page I cut 1” smaller (4.5”) and scored one end at ½”. That ½” flap was used to secure to the previous (lower) page. Just repeat with as many pages as you’d like. Make sure to decrease in size and to also alternate the flaps from left to right as you move up; this will make that accordion design.

I decorated the pages with die-cuts, stickers, foam stickers, puffy stickers, chipboard, frames, washi tapes, decorative brads and enamel dots! When designing your pages, keep in mind areas that will be left blank for small photos.
While I don’t have a step-by-step process video, I do have a walk-through on my YouTube Channel if you’d like to take a look!
Featured Products


0 comments